What Does A Wedding Day Timeline Look Like
An organized wedding day timeline eliminates scheduling conflicts and confusion. It also keeps everyone on the same wavelength, from the glam team to the caterers and bridesmaids. Breaking down your big day allows you to keep everything under control, from planning the wedding ceremony to organizing the wedding reception.
So try to finalize the timeline a month before the actual date of the wedding. Use this time to share the details with the people involved with the preparation, then confirm it again a week before the wedding day.
By Eivan’s Team
Why You Need to Have a Wedding Day Timeline
Having a timeline for your big day is essential because it helps your family members, vendors, and suppliers know when they have to be ready. Most importantly, it allows you to enjoy a stress-free wedding.
When to finalize the wedding day timeline
To finalize the timeline, you have to confer with the wedding vendors first. For instance, ask your makeup artist about the amount of time she will spend on each person. Let’s say the photographer will arrive at 1 pm. The makeup artist needs 40 minutes for you and 10 minutes each for your bridesmaids. In that case, your bridesmaids should be getting ready by 11:30 am.
It’s also a great idea to finalize the wedding timeline a month before your big day. Give your vendors a day to respond to your messages or call you back. Contact them if they don’t respond within a day, then send the final timeline one week before the wedding.
Share the timeline with the people involved in your wedding a week before the big day, including your wedding planner, site coordinator, wedding party members, videographer, family members, groomsmen, best man, and bridesmaids. That way, everyone will have extra time to prepare for the wedding.
How to display your wedding schedule
Displaying your wedding schedule and reception gives people a better idea of the flow of events. For instance, you can use signs to display your wedding day timeline. Apart from adding a unique touch to your big day, a wedding sign is a convenient way to let guests know what they can expect during the event.
Another option is to use an old window that has sectioned slots. You can paint the window and then write directions on the slots so that your guests will know what they should do and where they should go.
You can also decorate an antique mirror with an elegant font, flowers, greenery, and order of events to add more detail to your wedding. Rustic wooden signs with pallet boards or sheet wood would also make a lovely addition to your wedding decor.
Sample Wedding Day Timeline
Whether you are working with a site coordinator or planner, you have to know the time it usually takes for each wedding day activity. Here is a template that you can consider for your big day.
The wedding photographer arrives
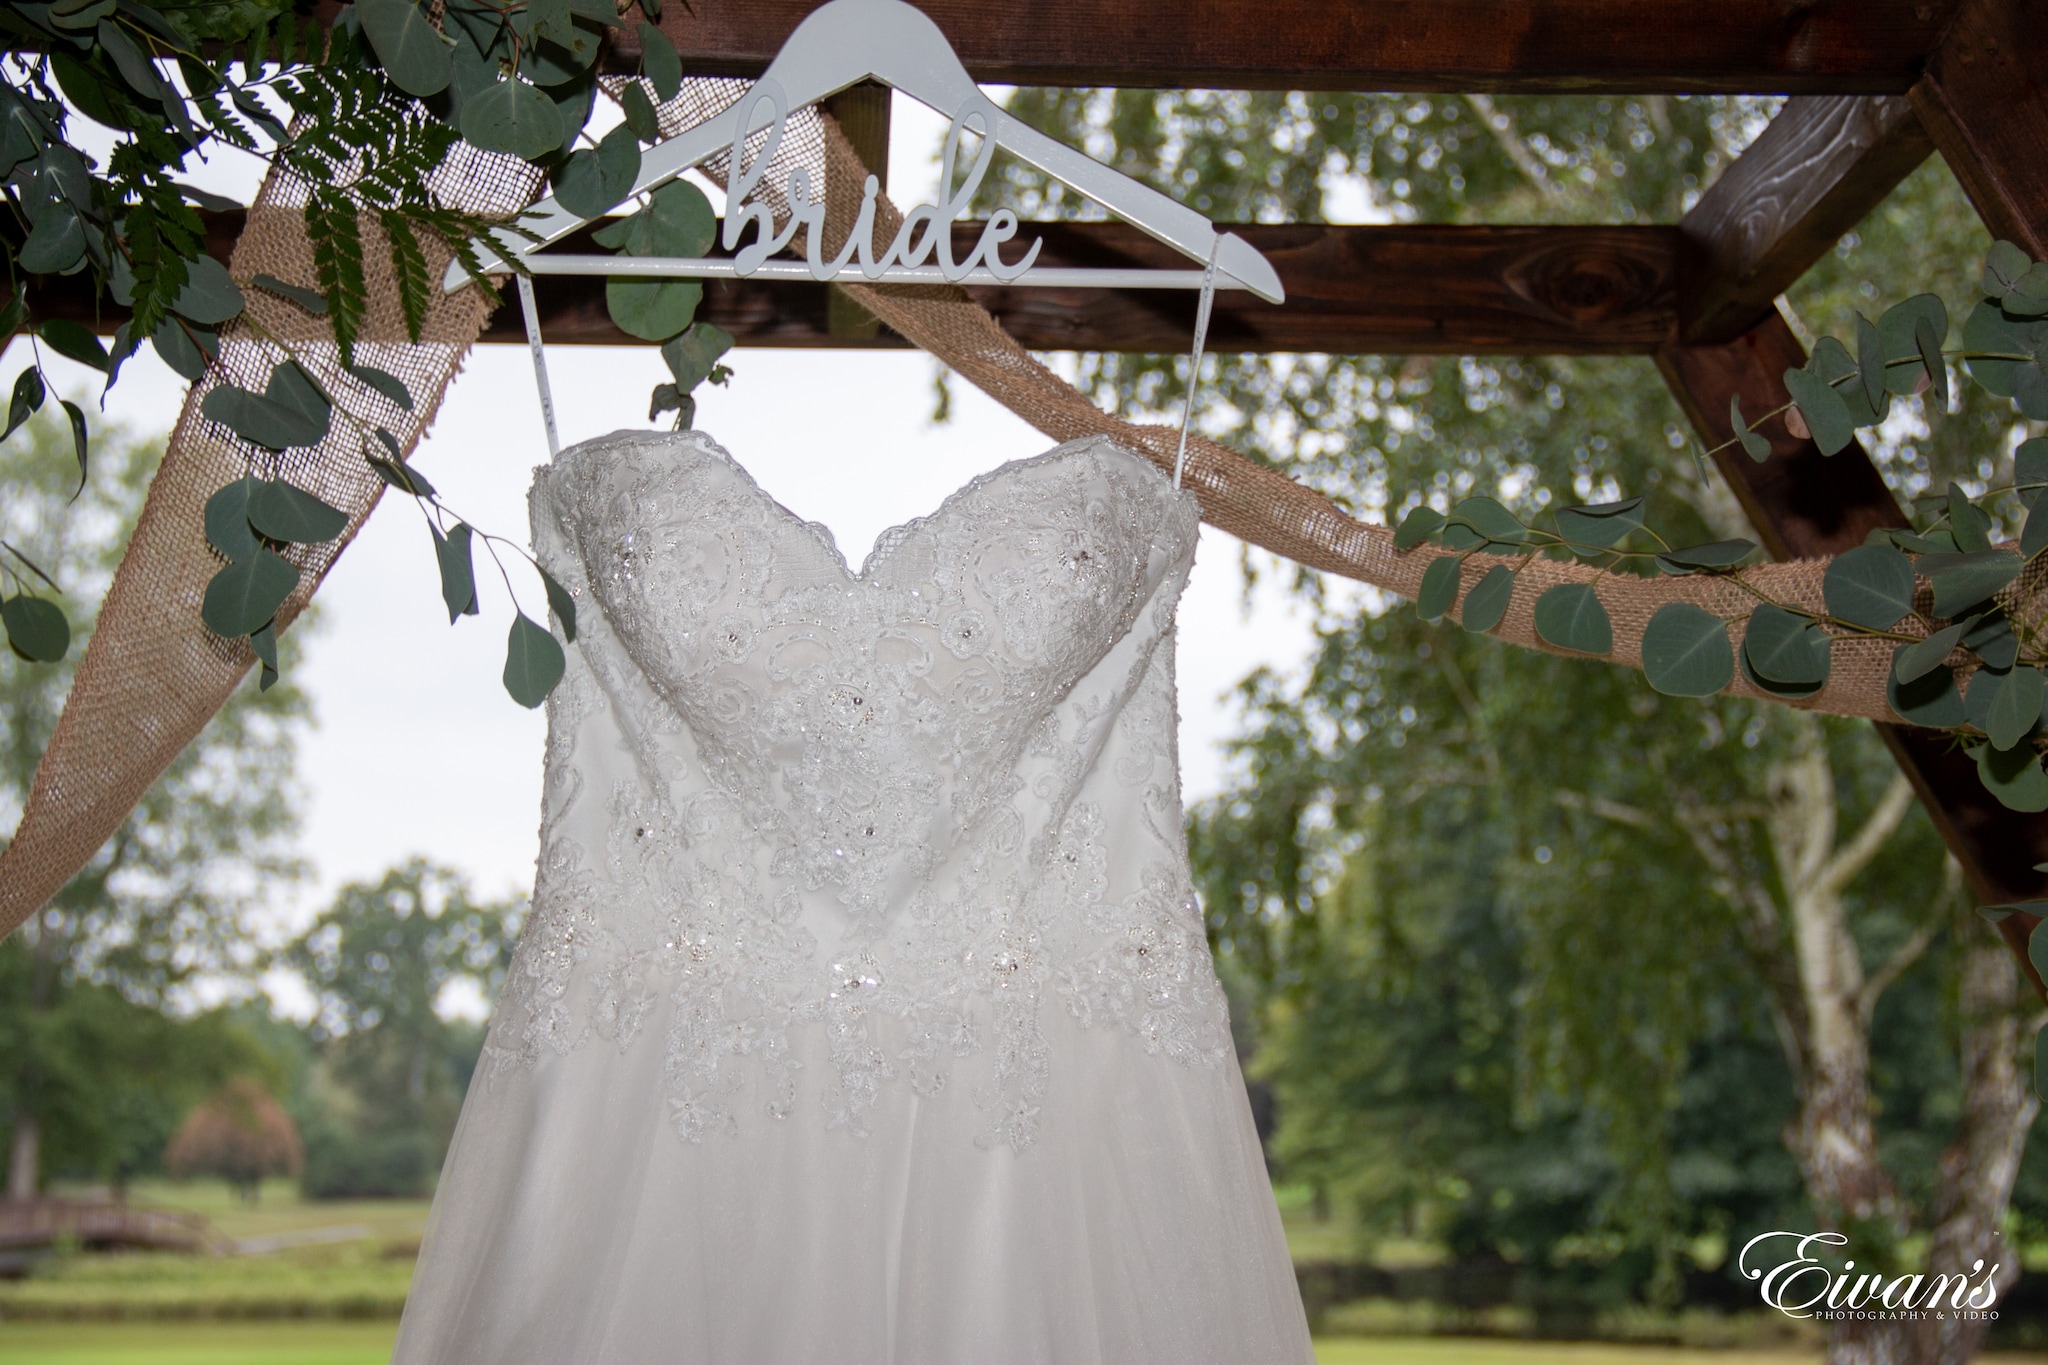
The photographer should arrive at least half an hour before you are ready. So if the timeline starts at 2 pm, the photographer should arrive at 1:30 pm. They can use this time to get photos of the dress, invitation, rings, and other wedding accessories.
15 min – the bridesmaids and bride are ready
The bridesmaids and the bride’s mother should be ready after 15 minutes. That way, they can be included in pictures featuring the bride in her wedding gown. You can also wear matching robes together.
15 min – bride gets dressed
Once you’ve put on your wedding dress, ask the photographer to capture the scene of your bridesmaids and maid of honor helping you wear your shoes and zip up the dress. Your mother could also adjust your veil or help with your jewelry.
25 min – bridal portraits
The wedding photographer should focus on taking detailed shots and bridal portraits at pre-scouted sites around the venue. It should be done once you are completely dressed and prepared.
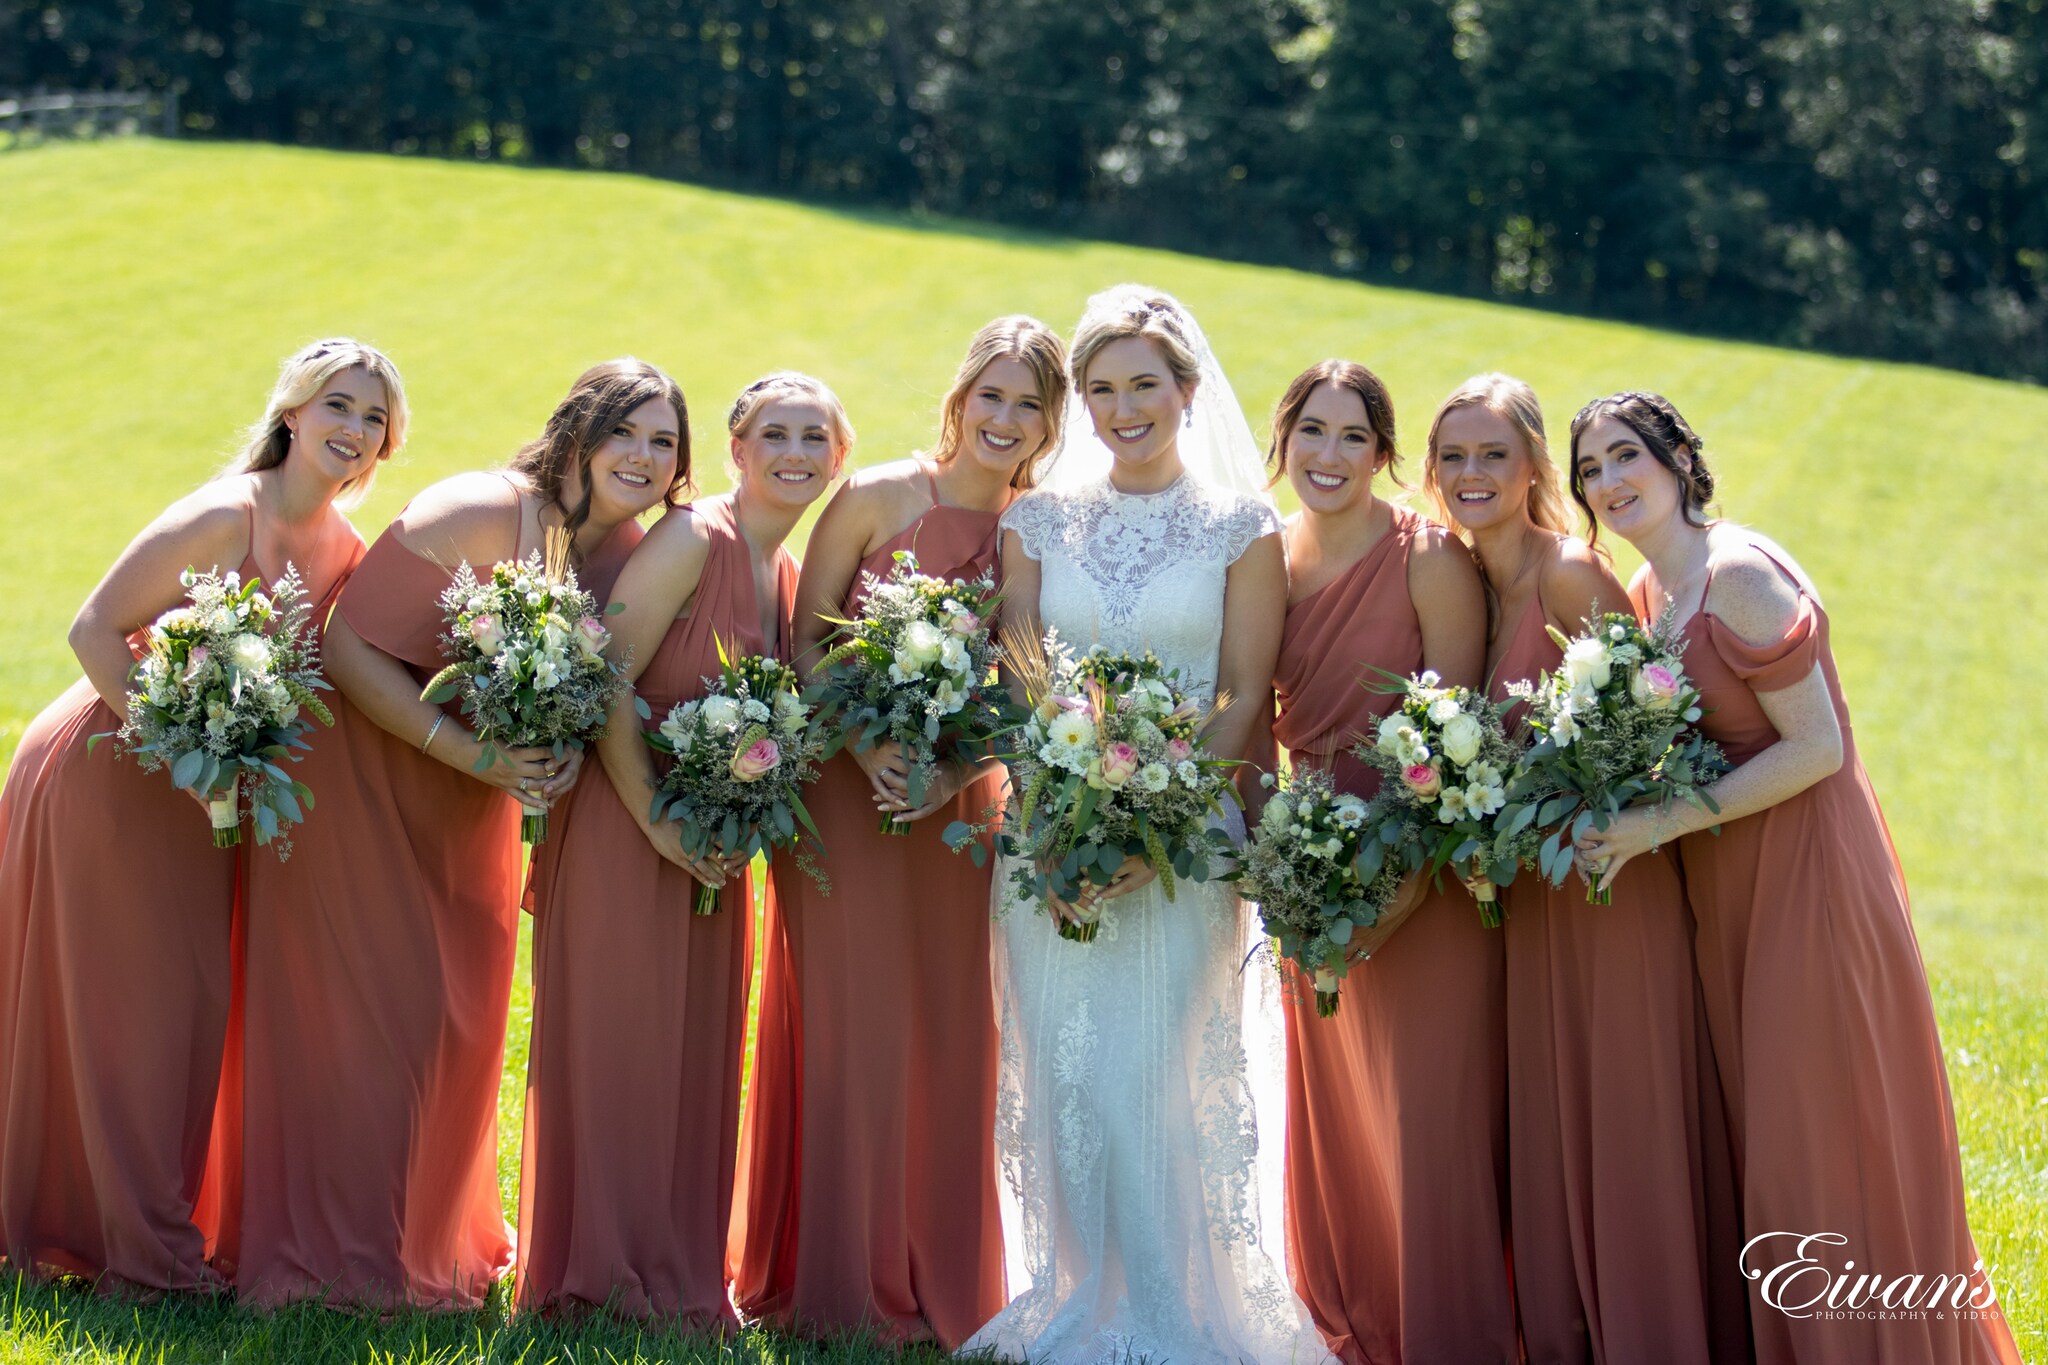
20 min – bridesmaids photos
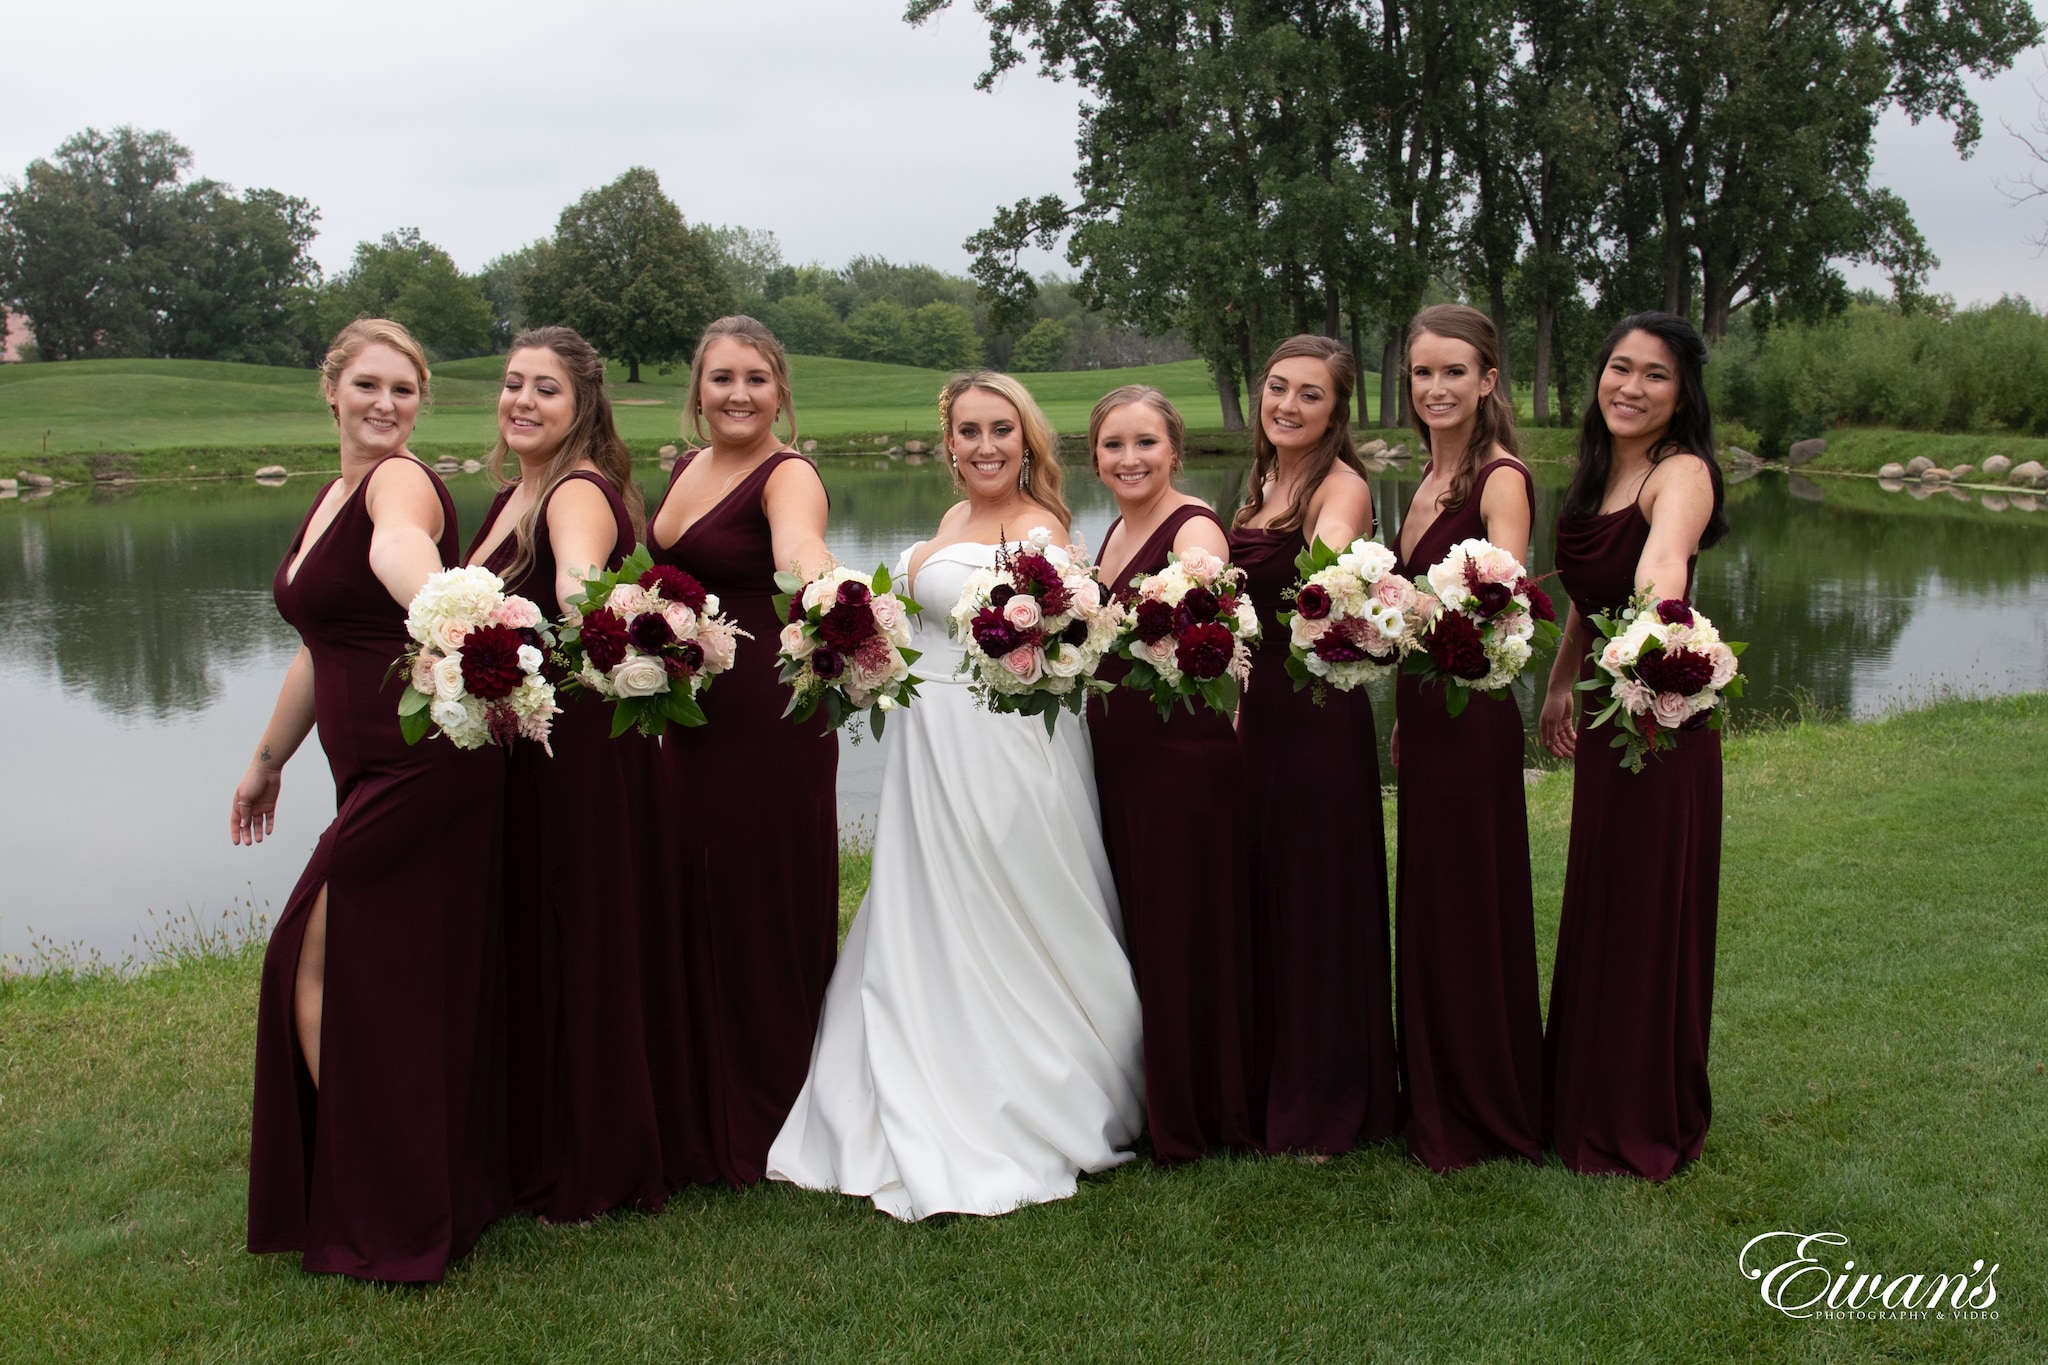
These photos must capture the moments of festivity between the bridesmaids and the bride. You have to prepare the props in advance for special shots like champagne or wine toasting with your bridesmaids.
15 min – First look and portrait shots
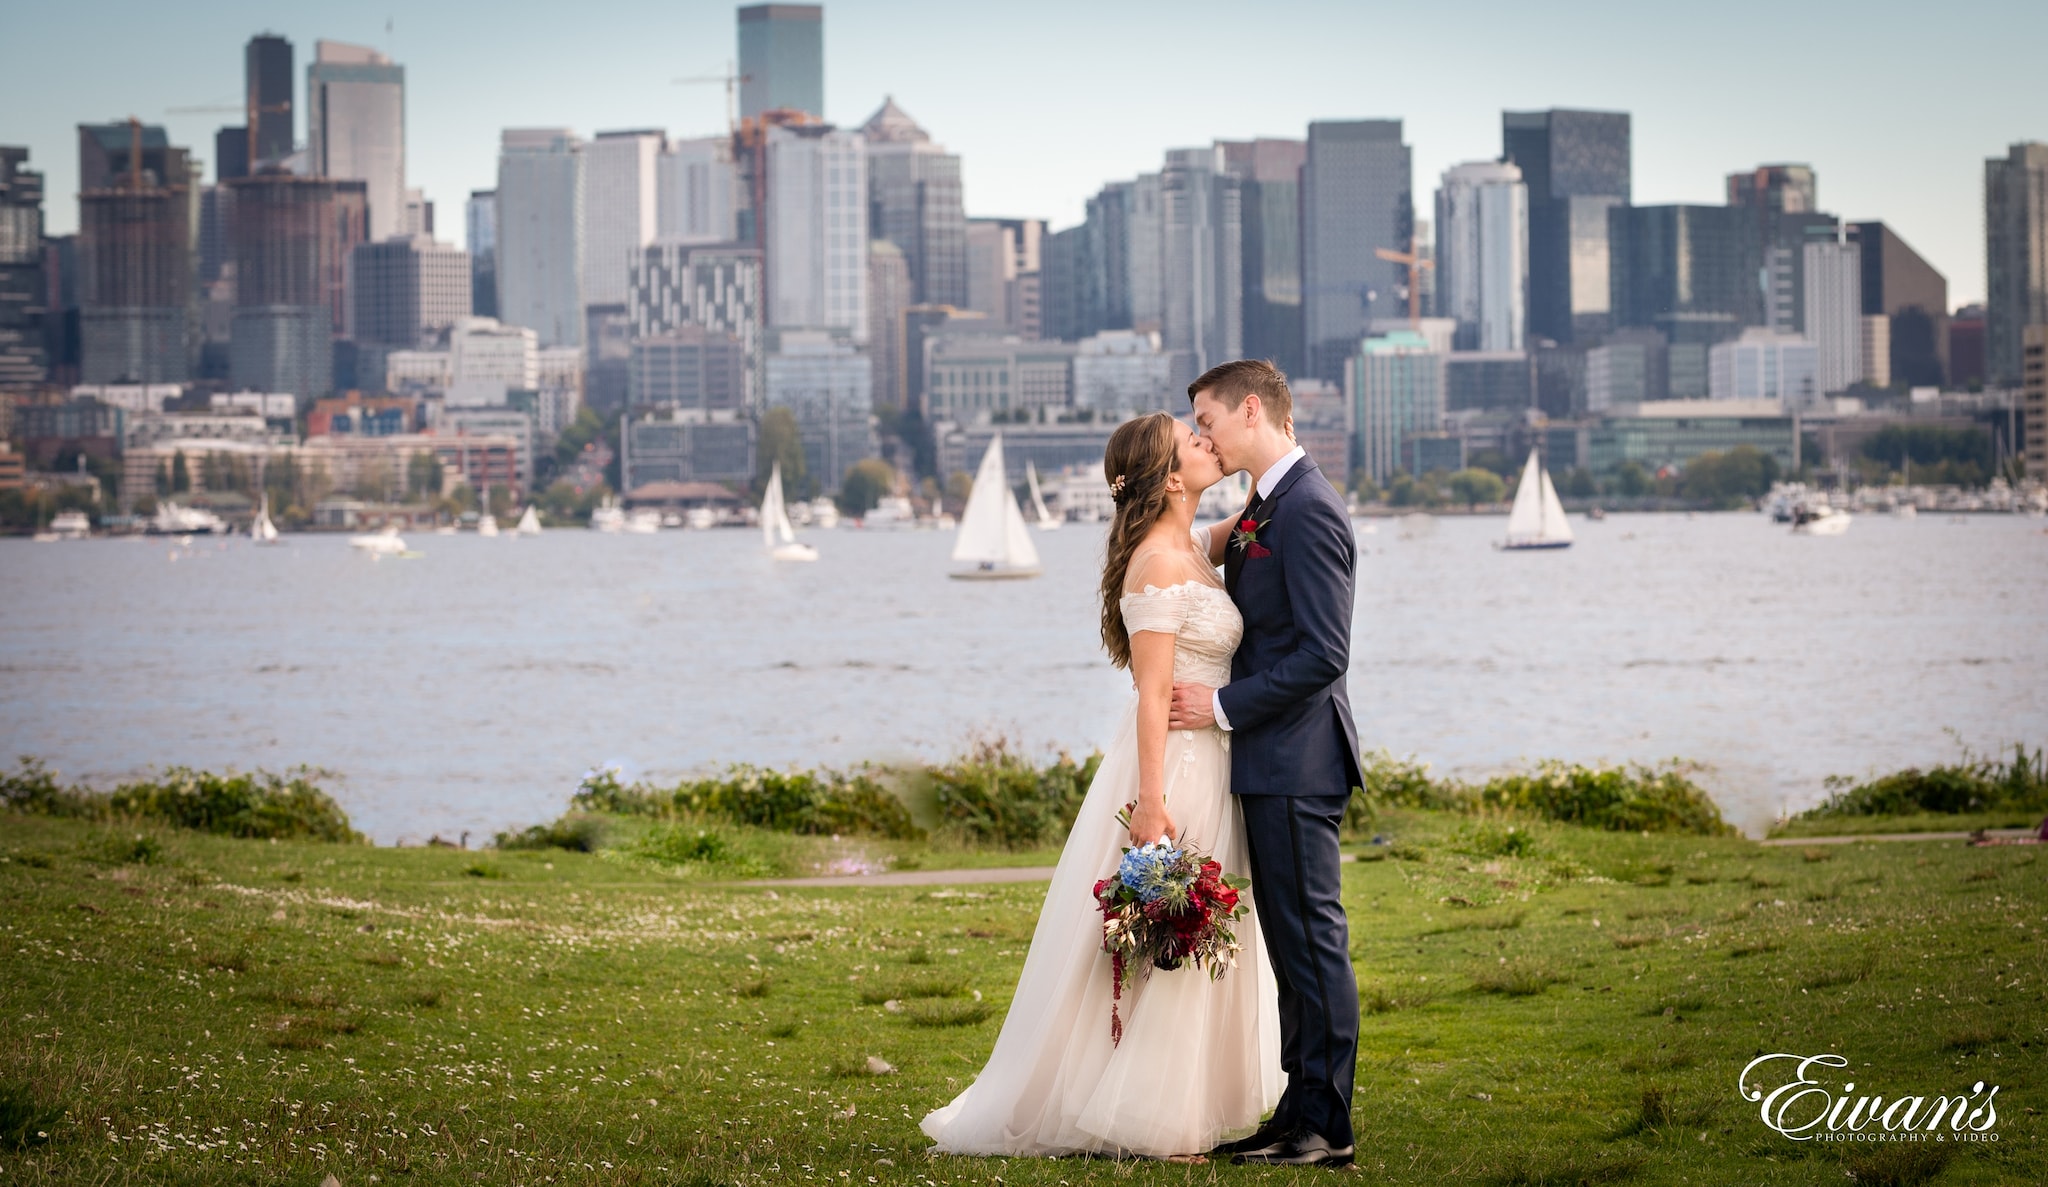
The first look allows the bride and the groom to see each other before the wedding ceremony. It is also the best time to capture portrait shots of the bride and groom at different locations around the venue.
50 min – family portraits and wedding party
Ten minutes before you arrive at the venue, your family members should be ready and waiting for you in the venue’s lobby. The photographer should have a list of the family combinations you want to capture for the family photos.
Ceremony start
The ceremony start time should be around 15 min later than the time indicated on the invitation. That way, the guests who are running late will have enough time to catch up. When the ceremony ends, you play some music to entertain the guests and indicate that the ceremony is about to start.
30 min – wedding ceremony
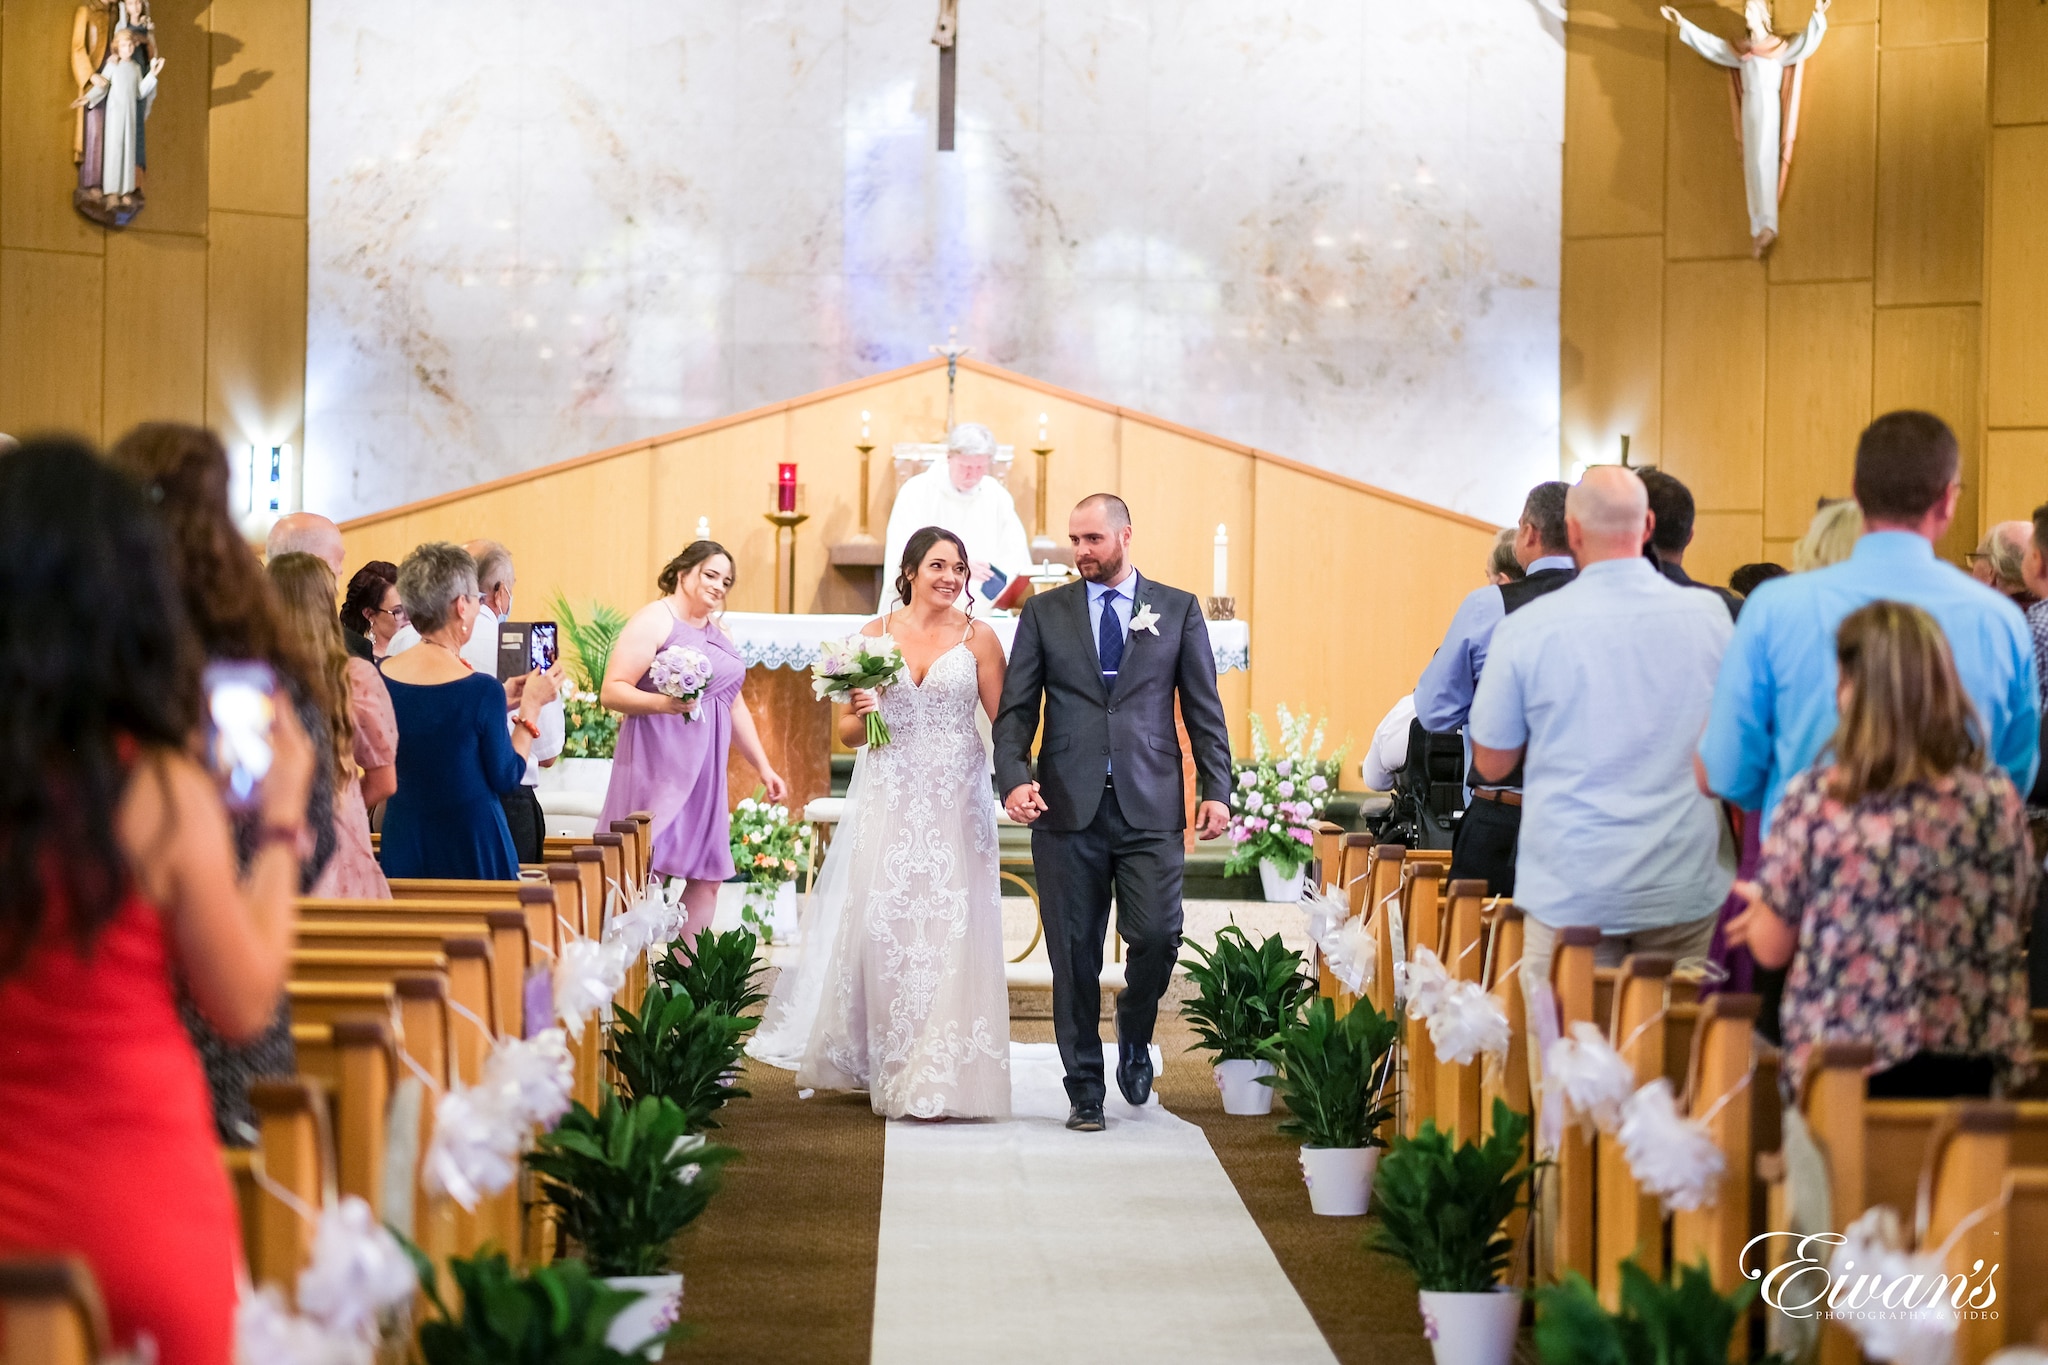
The time depends on the kind of ceremony you are having. Religious-based wedding ceremonies usually last an hour, while non-religious ones can last 20 minutes. Therefore, you can adjust this time block to fit your plan.
1 hour – cocktail hour
Use this time to take post-ceremony photos with your spouse. You can also use this opportunity to rest for a bit. If you don’t have a pre-ceremony first look, you can use this time to take photos with the bridal party and family. You’re not required to have a cocktail hour for a brunch reception. However, it offers a great transition between the ceremony’s formality and the reception’s celebratory feel.
30 min – sunset photos
The golden hour makes a beautiful backdrop for wedding photos, so use this time to take more photos together. The actual sunset time varies depending on the time of year and location. If you’re getting married in winter, you’d have to take pre-sunset pictures around 4 in the afternoon.
20 min – grand entrance, first dance, and dinner
Inform your guests that it is time to proceed to the dining room. Once everyone is settled, you can proceed to the first dance right after making your grand entrance. It will keep the fun and formalities going.
55 min – welcome toast and dinner
The welcome toasts are usually offered by a family member or the parents of the newlyweds. The bride’s father usually speaks first. Once it’s over, you can announce that it’s dinner time.
10 min – bridal party toast
The maid of honor and bridesmaids can offer toasts when everyone is almost done eating. It’s always a good idea to set a timeframe for the welcome and bridal party toasts and inform your speakers to stick to that limit.
15 min – parent dances
Parent dances like mother-son dance must be done right after the welcome and bridal party toasts, and you can open the dance floor afterward. Once the last official wedding dance is finished, you can ask your DJ to play a high-energy playlist for your guests.
15 min – bouquet toss, garter toss, and cake cutting
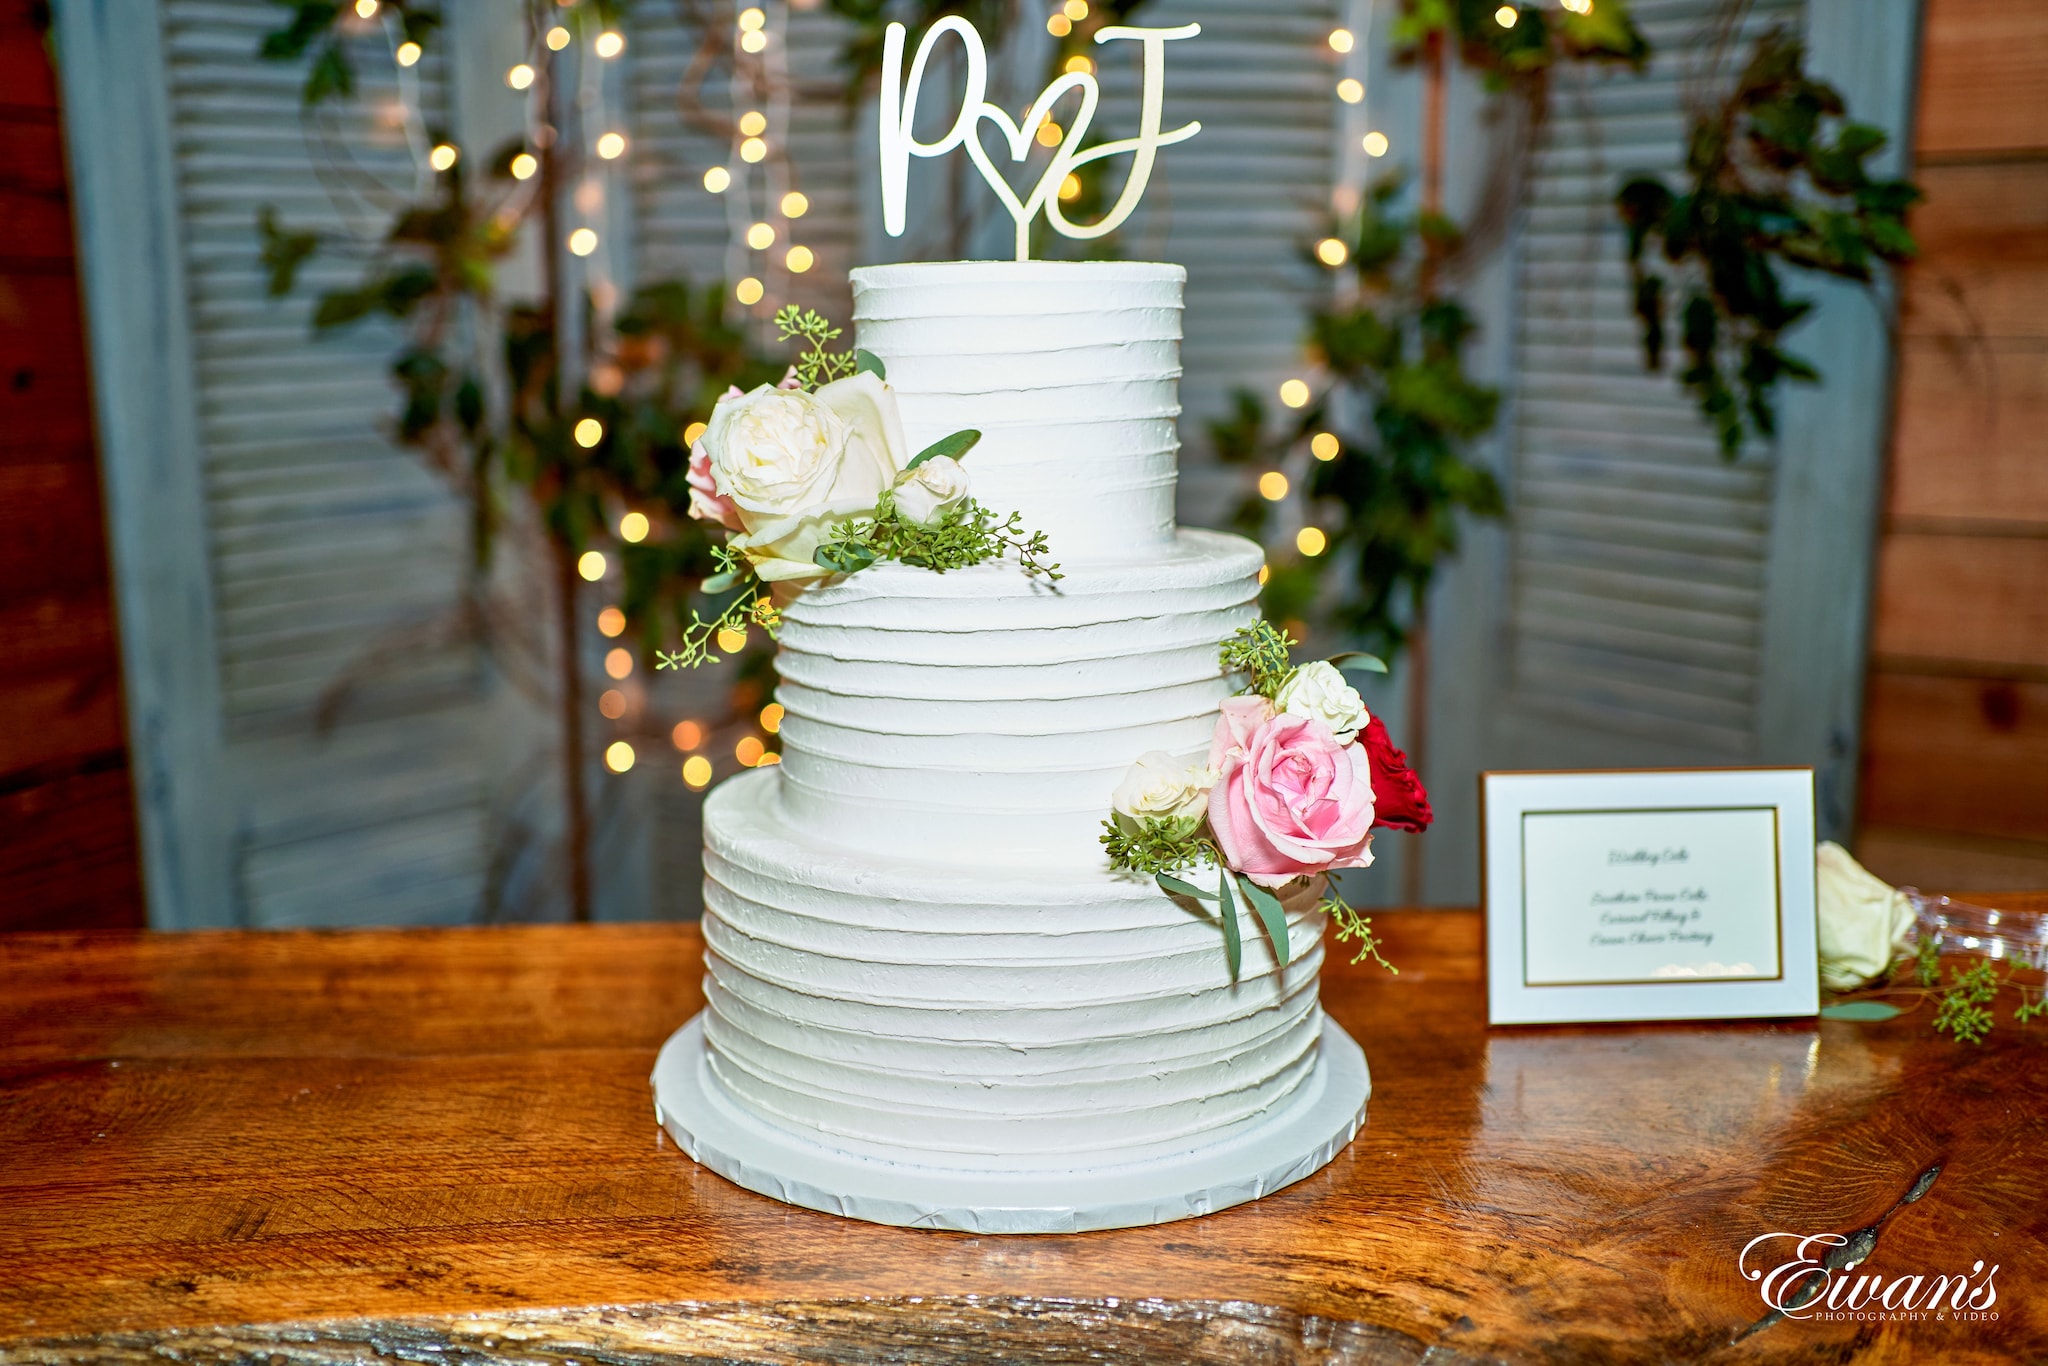
Cut the cake first, then toss the bouquet and garter next. Additionally, take this opportunity to thank your guests for coming to your wedding. It should take no more than 15 minutes. Once everything is done, it’s time for an open dance floor.
30 minutes before midnight – grand exit
You can say goodbye to your guests and use sparklers to make your grand exit. If there will be a receiving line at the reception venue, you have to include at least one hour in the timeline to greet your guests. You don’t need to worry about the rehearsal dinner because you can do it the day before the wedding.
Keep in mind that this wedding and reception timeline assumes that the reception and ceremony will occur at the same place. If you’re going to celebrate the reception at another location, you have to add travel time to your timeline. That way, everyone will arrive at the reception venue on time.
At the end of the day
The key to a perfect wedding day timeline is planning everything ahead of time. The timeline for a morning wedding is going to be different from an evening wedding. By breaking down the wedding into a well-planned timeline, you can keep up with everything and ensure the success of your big day. So make your wedding planning and timeline as detailed as possible.
